Cooking Finland is on Facebook! Click here. My art blog is here.

Tuesday, April 26, 2011

Funnel cakes for May day--Tippaleipä


The first of May, or vappu as it is called in Finnish, is a huge celebration.  The entire country celebrates with street festivals.  The most traditional food for this celebration is funnel cakes, and these are enjoyed with sima, a lemon-flavored mead.  I'm making these a few days early as a surprise for the kids when they come home from school--that way I'll have the photos to post this so you can make them for May 1, too!

I based my recipe on the one in the Finnish Cookbook by Beatrice Ojakangas.  I doubled the recipe because yeast batter keeps well in the refrigerator and you can always make waffles out of the extra for breakfast tomorrow!  For the funnel cakes, you need:

4 eggs
2 cups of warm milk
1 tablespoon sugar
1 package dry yeast (2.25 teaspoons)
1 teaspoon salt
4 cups flour

Oil for frying

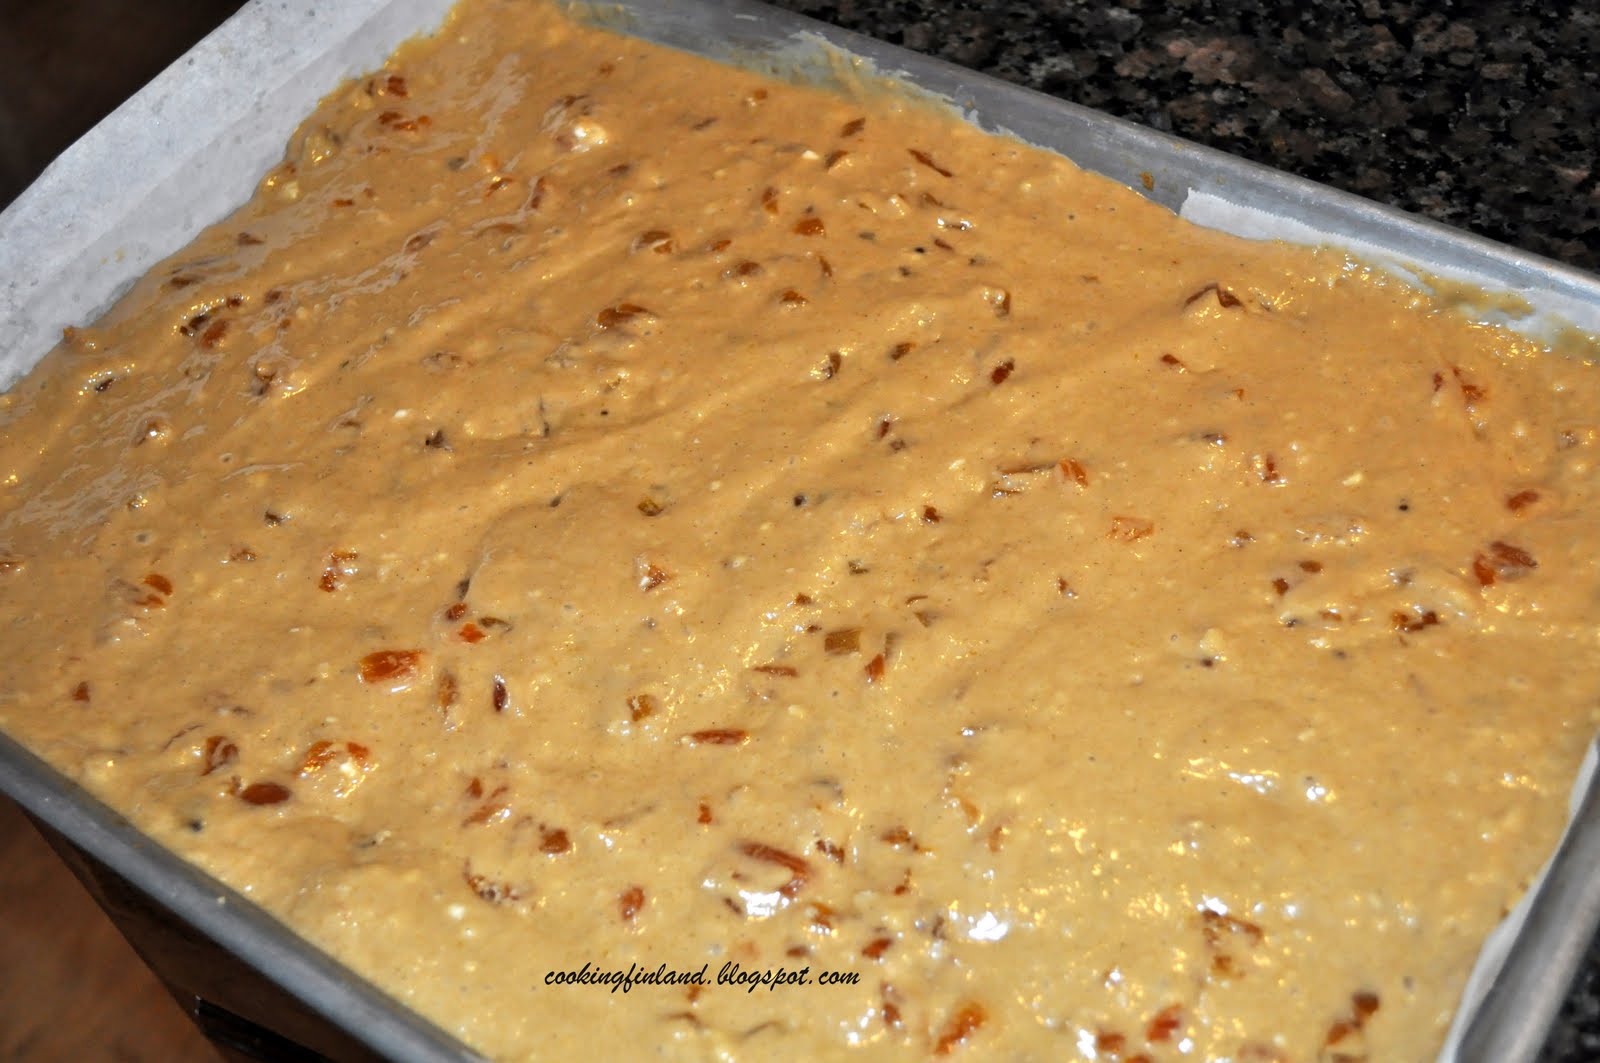
First, warm the milk but don't get it too hot or it will kill the yeast.  Break the eggs in a very large bowl and stir them to break the yolks.  Stir in the warm milk, sugar and yeast.  Add the salt and about half of the flour.  Stir this well--I didn't bother using the stand mixer for this because the batter is much easier to mix than a bread dough.  Then I stirred in the rest of the flour, and continued to stir until it was fully combined.  Next, the recipe said to let it stand in a warm place for about an hour.  Since I have several hours before the kids come home, I just left it on the counter so it would rise more slowly.  After it doubled, I put it in the refrigerator to wait for the school bus to come.  Watch the dough carefully, if it rises too much, you may need to stir it to knock it back down.  Look at how much the batter rose before the kids started coming home!


Instead of using a funnel, I used a gallon-sized plastic baggie, and put some batter in it.  I snipped the corner (be careful--the hole doesn't have to be very big!) and used that to squeeze the batter into the hot oil.

To fry the batter, heat oil in a heavy skillet until it sizzles when a small drop of water is dripped in it.  I used canola oil in an old cast iron skillet.  Never leave oil unattended while you are frying!

Squeeze in the dough, it will brown almost instantly.  Flip it with a fork, and let the other side brown also.


When both sides are brown, use the fork to take out the pastry and set it on a plate covered with a few layers of paper towels to drain.  I always use plain white paper towels for this.  Sprinkle on some powdered sugar and eat immediately!  I wish the Sima was finished to drink with these...

Sima--Finnish lemon mead for May Day

Sima is the traditional drink of spring in Finland.  It is a lemonade that is made from whole lemons and brown sugar, then carbonated with yeast.  Drink it cold with funnel cakes, like they do in Finland on the first of May.

I have started the sima, but it isn't finished yet, it takes several days.  I'll post more photos later, but I wanted to go ahead and share the recipe so you can have it ready for the weekend, too!  I make several batches of this for my husband every year, it reminds him of home.

I based my recipe on Beatrice Ojakangas' the Finnish Cookbook.

First, boil 4 quarts (3.75 liters) of water.  While you wait for the water to boil, thinly slice two lemons.  Make sure and wash them well, and then slice them peel and all.  I use a mandonlin to slice them, it works really well and makes nice thin slices.  

When the water boils, stir in one cup (2 1/3 dl) of brown sugar and one cup (2 1/3 dl) of white sugar until they dissolve.  Remove the pan from the heat, then put in the lemon slices, making sure to get all of the juice.  Let this set for a couple of hours until it is lukewarm.

After the liquid cools to lukewarm, stir in 1/8 teaspoon of yeast.  This isn't much--don't add more or the mead will taste too yeasty!  The yeast is what carbonates the mead.  Let this sit overnight in a large non-metal bowl.


When it is ready, it should have small bubbles around the edges.  At this point, strain out the lemon slices and use a funnel to put it in bottles with a tight lid.  I reuse gallon water bottles or 2 liter seltzer bottles for this.  If you use bottles that had anything but water in them, be sure to clean and sterilize them well!

Into each bottle, put a couple of teaspoons of sugar and 4 raisins.  Close the lid tightly and let it stand at room temperature until the raisins rise to the top.  This could be anywhere from 8 hours to 2 days, depending on the room temperature.

When the raisins float, the sima is fermented (but not enough to be alcoholic) and ready to drink.  Store it in the refrigerator, and drink it cold.Publish Post

The pith (white part) from the lemon slices sometimes makes the sima taste a little too bitter for my kids--often when I make it I will zest and juice one of the lemons and slice the other (remember to zest the lemons before juicing--it is almost impossible to zest an empty lemon peel!).  The kids like it best if I zest both lemons then squeeze the juice, but this completely removes the characteristic bitter undertone.  Experiment and see what you like best!

Friday, April 15, 2011

Lemon pasta--sitruunapasta


This is a dish I found in a newspaper article about a decade ago, and it is probably my kids' favorite food ever.  Our chives just started growing again in the last week or so, so it is time to make this simple spring pasta dish.  I've found versions of this recipe on Finnish sites, also, but this came from an American newspaper.  You can add other fresh herbs such as basil if you like, and vary the amount of cheese if you like more or less.

First, put a big pot of water on to boil for the pasta.  You can use angel hair or regular spaghetti.  Last night for supper, I used whole grain spaghetti.

While waiting for the water to boil, wash a large lemon thoroughly and grate the zest.  After zesting the lemon, squeeze the juice.  It is nearly impossible to zest a lemon that has already been juiced!  In a large mixing bowl, put the following:

The zest and juice from one lemon
3 tablespoons of butter cut in small pieces
pepper to taste (we like fresh-ground for this recipe, or you could use lemon pepper for more zing)

about 1/4 cup of snipped chives or green onions (I've even used dried onions before with good results.  A chopped sweet onion could be substituted)

about 1/2 cup of Parmesan cheese

Boil the pasta (1 package = 1 pound or 1/2 kg) according to the package directions.  As soon as the pasta is done, drain it and immediately add it to the large bowl.  Stir thoroughly, melting the butter and cheese.  Serve with more Parmesan cheese and lemon pepper if you want.  This dish is also wonderful chilled in summer.

Pasha and Kulitsa--Eastern Finnish creamy dessert and bread for Easter


This week, I made pasha and kulitsa, dishes that are traditionally eaten at Easter in eastern Finland.  My husband had never had these before, but I will definitely be making them again for dessert on Easter Sunday.  Pasha is a creamy dessert, kind of like a fruit and almond flavored cream cheese.  Kulitsa is a sweet bread, full of raisins, with a beautiful golden color.  Everyone was really excited to try it, it is the kind of food that you just can't stop eating once you start!  

I made two size 4 coffee filter sized  pasha and two loaves of kulitsa, the plan was to have one for dessert after dinner, and the other for the next day...somehow almost all of it disappeared last night!  

The pasha takes at least 24 hours to make.  There are a lot of different flavorings used in pasha in Finland, including raisins, currants, cherries, or candied citron.  Another complication with making this in the United States is that we don't have "maitorahka" or quark.  I did quite a bit of research before deciding on this combination of several recipes.

The ingredients I used were:

16 ounces of 4 percent milk-fat cottage cheese (2 cups or 5 dl)
1/2 cup sour cream (1.25 dl)
(note:  if you have maitorahka or quark available, just use 6.25 dl instead of the cottage cheese and sour cream)

2 tablespoons soft butter
2 tablespoons of pasteurized egg product or 2 pasteurized egg yolks
1 tablespoon grated lemon peel
1/2 cup ground or finely chopped almonds
1 cup sugar
1/2 teaspoon vanilla
1 cup dried cherries (or raisins or currants or candied citron if you want to change the flavor)


First, if you don't have maitorahka or quark, put the cottage cheese in a food processor or blender and process until it is smooth:


Next, add the butter and sour cream and process again.  Make sure the butter is soft or you may find a lump in the finished product.  Add the egg, in Finland eggs are sold pasteurized, but here they are not generally.  Do not use raw, unpasteurized eggs in this dish because it is not cooked.  Here are the products I used:


Next, add the sugar.  If you are using vanilla sugar instead of liquid vanilla, it is best to mix it with the granular sugar before putting it in the pasha.  Otherwise it may lump together and spoil the dish.

Use a spatula to mix in the dried fruit.  The most traditional dried fruit to use is raisin, but after some research I found that a lot of people really like the cherry pasha, and I thought my kids would like it better, too.

The pasha needs to drain overnight.  To do this, I used coffee filters and to support them, I used some parts out of old coffee makers.  Make sure to remove the mechanism that keeps the coffee from coming out unless the pot is under the filter.  This is easy to do, there is a little rubber ring that can be removed from the inside.  I'll put them back before I use these for coffee again.

If you don't have these laying around, you could also use a large yogurt container for the support, but make sure to punch a hole in the bottom.  You could use cheesecloth in a sieve instead of the filters and make one large pasha.  Anything that has a hole in the bottom can be used, as long as it is lined with a filter or cheesecloth.

This was my set-up.  After filling the filters, I used a small bowl to weight down the pasha, then set them in the refrigerator for 24 hours.  About 2/3 of a cup of sweet liquid drained from them in that time.  Just before serving, unmold the pasha by putting a clean plate over the top, then flipping it upside down.  Peel off the filter or cheesecloth.  Decorate with fruit and serve with whipped cream or as a topping for kulitsa.  The recipe for kulitsa is here.


Kulitsa, a sweet bread for Easter


Kulitsa is a sweet, fruity bread served at Easter in eastern Finland and Russia.  It is wonderful with pasha spread on it!  The recipe for pasha is here.

There are a lot of recipes for this bread, some include saffron, currants, or citron.  I got this recipe from a Finnish site, here.  Of course I made a couple of modifications...

The ingredients are:

1 1/4 cups warm milk (3 dl)
1 package dry yeast (2 1/4 teaspoons or 1 cake of fresh yeast)
2/3 cup sugar (1.5 dl)
1 teaspoon salt
3 eggs
1/2 stick butter, melted (50 g)
1 teaspoon cardamom
grated peel of one lemon
a little less than 1 cup raisins (2 dl)
1/2 cup ground almonds (1 dl)
about 4 1/2 cups of flour (11+ dl)

First, I washed a lemon well and grated the peel.  The microplane grater in the back works really well, but you can also use any fine grater, like the one the lemon is sitting on.  Make sure and only take the yellow part of the peel, the white part is really bitter.


Warm up the milk, but don't get it too hot or it will kill the yeast.  I put the milk in the stand mixer bowl, then stirred in the sugar and yeast until it was dissolved.  Next, I added all of the rest of the ingredients except the flour and mixed well.  I added the flour 1/2 cup at a time until the dough started to pull away from the sides of the bowl.  Note that this dough is MUCH stickier than regular bread dough, this is because of the milk and extra eggs.


Grease a non-metal bowl (I sprayed it with cooking spray) and put the dough in it to rise.  I sprinkled the dough with flour to get it out of the stand mixer bowl, otherwise it would have been a sticky mess.  Cover the dough with a clean towel and put it in a warm place to rise.  I used my warming drawer, but you can put it in any warm place.  If you turn the oven on as low as possible for a few minutes, then turn it off again, you can put the dough in to rise--just don't forget and leave the oven on.


Let the loaves rise, covered, for another 1/2 hour.  Preheat the oven to 350 F (175 C) and then bake for about 40 minutes.  The original recipe suggested basting with egg before baking, but I forgot.  I think the loaves are beautifully brown anyway.  The outside of this bread bakes to a deep brown color, but the inside remains soft and golden.  Sweet and delicious.

Thursday, April 14, 2011

Mämmi, a traditional Finnish porridge or pudding


Mämmi is probably one of the most traditional foods eaten at Easter in Finland.  Traditionally it was baked in boxes made of birch bark, but today you can buy it in cardboard boxes in ever grocery store.  There are a lot of mämmi recipes, but the one I used is from The Finnish Cookbook by Beatrice Ojakangas.  Mämmi is a type of baked rye porridge, with a very strong molasses or malted flavor.  I have always loved molasses and enjoy this dish a lot.  

My husband has never really cared for the dish as purchased at the stores in Finland, but when I made it for him fresh, he really enjoyed it and asked if I could make it again.  There really is no substitute for homemade!  This dish had mixed results with the kids--I think part of their objection was the color.

The Finnish recipes generally include grated orange peel, or more specifically, grated bitter orange peel (pomeranssi).  After reading some side effects of bitter orange on Wikipedia, I decided not to include it.  I'm sure the small amount generally used in this dish is probably safe, but it sounds poisonous to me.  I left out the orange peel completely, and evidently that is what my husband didn't like about the purchased dish in Finnish grocery stores!  He commented that the flavor was very authentic except for the lack of a bitter aftertaste.  I took this as a compliment!

The ingredients I used were:

4 cups water (1 liter)
1/2 cup sorghum or dark molasses (1 dl plus 3.5 teaspoons)
1/2 teaspoon salt
1 cup rye flour (2.5 dl)

Boil the water, molasses, and salt to a slow boil.  Use a whisk to stir in 1/4 of the rye flour.  Whisk vigorously and turn off the heat.  Let the mixture cool for at least 10 minutes, then whisk in the rest of the flour.


Stir in the remaining rye flour (and two tablespoons of bitter orange peel if you are using it, I didn't).  Remove from heat and pour into a 1.5 quart (1.5 liter) casserole dish.  I sprayed the dish with some cooking spray first, the recipe didn't say that it was necessary to grease the dish, but I think it would stick terribly if you didn't.


Bake at 275 F (135 C) for 3 hours.
  
Serve with whole milk or cream and a sprinkling of sugar.

Hope you enjoy this very traditional dish!

Saturday, April 9, 2011

Apricot-Cardamom Cake


I collect cookbooks of all kinds, but especially the red-checkered Better Homes and Gardens ones.  There are a lot of them that look exactly alike on my shelf, but the ones from different years have very different recipes.  Cooking from the older ones is like a short culinary trip back in time!  This recipe is from Better Homes and Gardens New Baking Book, and is from 1998, not so long ago.

This recipe is not Finnish at all, as far as I know, but it contains cardamom and apricot which are popular flavors in Finland.  These flavors combine with brown sugar to make a moist and flavorful cake.  I doubled the recipe so that it would be easier to convert the amounts to metric, and a jelly roll pan is perfect to bake the larger cake.  Plus, it is Saturday and everyone is home, a single recipe wouldn't have lasted long!

Here are the ingredients:

2 cups all-purpose flour (5 dl)
1 teaspoon baking powder
1/2 teaspoon baking soda
1/2 teaspoon ground cardamom
2 slightly beaten eggs
1 cup packed brown sugar (2.5 dl)
1 cup orange juice (2.5 dl)
1/2 cup applesauce (1.25 dl--not an exact conversion, but a little extra is ok in this recipe)
4 tablespoons butter, melted (57 grams)
1 cup finely snipped dried apricots (2.5 dl)

Preheat oven to 350 F (175 C).

First, combine the dry ingredients (flour, baking powder, baking soda, and cardamom) in a separate bowl and mix well.  It is always important to mix the baking soda and/or powder in the flour first because otherwise the batter won't rise evenly.


Next, mix the egg, brown sugar, orange juice, applesauce, and melted butter together in a separate bowl. Make sure you pack in the brown sugar to measure it to get the right amount.


Here are the snipped apricots, I used clean Kitchen scissors to cut them up.


I stirred together the dry ingredients, the wet ingredients, and the apricots, scraping the sides well with a spatula.


I baked the cake in a jelly roll pan which was lined with parchment.  The original instructions said to use an ungreased pan, but I was afraid it might stick.  Better Homes and Gardens also suggested that you could line the pan with foil, but the parchment worked really well.

Bake the cake in preheated a 350 F (175 C) oven for about 20 minutes.  The cake baked really quickly in this size pan.  Cool without removing from the pan, or it will fall apart.


For the icing, mix about a cup (2.5 dl) of powdered sugar with enough orange juice so that it drizzles easily (about 2 or 3 tablespoons).  Drizzle this over the cake.


When the cake is cool, cut it into bars.  Or if your family is impatient like mine, just cut it and eat it warm and crumbly!  This cake got rave reviews from everyone, even the family members who prefer not to find fruit in their cakes.

Friday, April 8, 2011

Finnish hamburger pies--lihapiirakka


These little pastries filled with meat, onions and rice are incredible.  They are not quite like the pasties served in Michigan's upper peninsula where a lot of Finns settled (those actually are an American Finnish dish, I am planning a post on those very soon), but if you like those, you should give these a try.  These are served all over Finland in cafes or outdoor fast food eateries called kiosks.

Beatrice Ojakangas calls these "Hot Meat Tarts" or "Kuumat Piiraset"  in The Finnish Cookbook.

I'll start with the yeast pastry dough recipe:

1 package active dry yeast (2 1/4 teaspoons)
1 1/4 cup lukewarm milk (3 dl)
1 teaspoon salt
1 beaten egg
1/2 cup sugar (1 dl plus 1.25 tablespoons)
4+ cups of white flour (10+ dl)
1/2 cup melted butter (113.4 grams)

First, I dissolved the yeast in the warm milk.  I microwaved the milk for about a minute and a half, then stirred it well to get the right temperature.  Microwave times vary a lot, so be careful, if the milk is too hot, it will kill the yeast and the dough won't rise.  Then I added the salt, egg and sugar and stirred it well.


I used my stand mixer with a dough hook to beat in the flour, one cup at a time for the first three cups.  This is what it looked like after three cups of flour were added (I also used a spatula to scrape the sides of the bowl):


Then I added more flour 1/2 cup at a time, here it is after 4 cups:


The dough should be very stiff, 4 1/2 cups of flour seemed to be the right amount this time, but this will vary depending on weather conditions, etc.  Here is what it looked like:


I sprinkled flour over the dough in order to be able to pull it out without getting my hands sticky.  Then I shaped it into a ball and put it in a lightly oiled non-metallic bowl to rise.  Never leave dough in a metal bowl to rise--it just doesn't work as well because the metal conducts heat too well.  I covered the dough and put it in a warm place for about an hour.


After an hour, it had doubled in size.  I punched it down and let it rise for another half an hour while I prepared the filling.


The meat filling ingredients are:

2 pounds ground lean beef (about a kilo)
1 cup finely chopped onion (5 dl) (I used dehydrated onion to make that amount)
2 teaspoons salt
1/2 teaspoon pepper
1/2 cup finely chopped fresh parsley (1.25 dl)  (I used 8 teaspoons of dried parsley)
1 cup cooked rice

First, I put some rice in my rice cooker to cook.  Leftover rice would be great in this recipe.  I used Jasmine rice because that is what I had in the pantry, but plain rice would work as well.

Then I cooked the hamburger, stirring well so that it was in very small pieces.  You don't want to brown the meat, just cook it until it is no longer pink.  If you are using fresh onion, cook it along with the meat.  Since I used dehydrated, I added it at the end.  Dehydrated onion burns easily.  I salted and peppered the meat, then added the parsley.  By now the rice was finished, so stirred it in.


I rolled out half of the dough, it was really easy to roll compared to pie crust dough.  I cut rounds with a 3 inch cookie cutter, like any yeast dough, the circles shrink once they are cut.  Before filling them, brush a little water around the outside edge so they will seal well.  I used quite a bit of filling in each one, the dough is stretchy and easy to work with.


From the other dough, I cut squares as suggested in Beatrice Ojakangas' book.  I didn't like the way these looked after they were stuffed.  I think next time I will make larger circles by cutting with a knife around a coffee can lid.  My family all seemed to like the large ones better, and they were less work.

I've also seen some home cooks in Finland make this like a casserole with a layer of dough on the top and bottom of the filling.  I like the fact that each is an individual serving, though.


I let them sit for about an hour until everyone came home from school and work.  Beatrice recommends ten minutes to let them rise again, but it didn't seem to matter that I let them sit longer.

Preheat the oven to 400F (200C).  Brush the pastries with beaten egg before baking them.  Bake for 20 minutes.


These were delicious, we ate them with homemade pickles, tomatoes and mustard from Ikea.  They also went well with avocado slices, but that was not a very Finnish way to eat them!

The slightly sweet crust was perfect with the savory filling.  These would be great to pack in a lunch or to freeze and thaw individually for lunches.

Finnish buttermilk crepes/pancakes (lätty,lettu, lätyt in Finnish--plätt in Swedish--plett in Norwegian...)


These little crepes are very traditional little pancakes in Finland and the rest of Scandinavia.  I made these as a special treat yesterday when the kids came home from school.  I love my "new" antique cast iron pancake pan that I found over spring break, and I'm really enjoying cooking with it.  And everyone else is enjoying eating what I cook...

Sorry about the long title for this post--there is some confusion as to what these are called.  Some might even call them pannukakku in Finnish (pancake), but I agree with those that reserve the word panukakku for Finnish oven pancakes, like in this post.  By the way, you could substitute these crepes to eat on Thursday with the pea soup if you want!  ;D

I used the recipe from The Finnish Cookbook by Beatrice Ojakangas, her ingredient list is:

2 eggs
1 teaspoon sugar
3/4 teaspoon salt
1 cup buttermilk (2.5 dl)
2 tablespoons melted butter
1 cup white flour (2.5 dl)
butter for frying

I doubled all the ingredients (and still didn't have quite enough once the teenagers started eating...)

Beat the eggs and sugar in a mixing bowl, then add the salt, buttermilk, melted butter and flour.


Beat this until smooth with a whisk.  Then the original recipe says to let it rest for at least an hour.  I let it rest about 15 minutes to let the bubbles settle and make sure all the flour was moistened.  The kids don't come home at the same time, and I fried them fresh for each one, so some batter sat for more than the suggested hour.  We really couldn't tell the difference between the first and the last ones.  I think 15 minutes is plenty of resting time, but this keeps well if you need to wait to cook them.  It should keep fine even overnight if covered and refrigerated.


To fry the crepes, I used this pan with indentations.  If you don't have a pan like this, you could make them in a small nonstick frying pan or other small skillet.

I started by putting butter in each indentation and letting it melt as the pan heated up.  Be careful, butter burns really easily!  As soon as the butter started to melt, I filled each indentation with batter.  When the cast iron pan got really hot and they started to steam, I immediately turned it off.  (If you are using a lighter-weight skillet, just turn it down to low, but a thick pan like this stays hot for a long time).


Crepes don't have any baking powder or baking soda in them, so they don't have little bubbles when it is time to flip them (like American pancakes would).  Instead, they kind of poof up in the middle from the trapped steam, and you can see in this photo that they are starting to get firm around the edges, these are ready to turn over:


The goal with these is to not let them get too brown.  These can be a bit more brown than traditional crepes, but be careful not to burn them.  I used this small old brownie server to turn them in the small indentations (it belonged to my grandmother), it worked perfectly.


We ate these with blueberry soup, you can find the recipe here.  Or you could serve them with jam and/or whipped cream.

They were so delicious, I need to go shopping now for more buttermilk before the kids get home!

Blueberry soup--blåbärssoppa--mustikkakeitto


This is a really easy and delicious way to eat berries, and a rather low-calorie and nutritious dessert, too.  In Finland, you can buy blueberry soup in any grocery store next to the milk products.  Other popular fruit soup flavors include raspberry, mixed forest berries, and strawberry.  Gooseberries or rhubarb are also really good in this soup.  The basic process is the same for any kind of fruit that you want to substitute with.

I used some really large blueberries that grow on the high bush plants in the Ozarks because I had these in my freezer.  In Finland, the berries would probably be the smaller, wild variety.  Both taste good in this recipe, it is hard to mess up this fruit soup!

Boil these ingredients for 10 minutes over medium heat:

2 cups water (5 dl)
2 cups blueberries (or substitute other berries if you want!) (5dl)
3 tablespoons sugar

I used a medium-sized saucepan and added the blueberries right away because they were frozen, but didn't start counting the time until they came to a boil.  If you use fresh berries, it is probably better to let the water boil first, then stir in the other ingredients.


To thicken the soup, stir together in a small bowl:

3 tablespoons cornstarch or potato starch
3 tablespoons cold water

I used potato starch this time.  After you mix the thickener very well, take a tablespoon-full of the hot soup and mix it into the cold thickener.  This tempers the mixture and makes it less likely to clump.


Now pour the tempered thickener into the hot soup, stirring constantly until the soup thickens.  This is the same process used to thicken broth for lump-free gravies.


If you find that the soup is a little too thick, you can always stir in a little more water.  Fruit soups continue to thicken as they cool.

We love to eat fruit soup with a little whipped cream, but yesterday I made this as a special after-school treat with small Finnish pancakes that are a lot like mini crepes.  That recipe will be my next post.