 |
| Jam-filled Finnish croissants with strawberries |
I woke up this morning sure that it was Fat Tuesday, and ready to bake the most delicious, almond-paste filled traditional Finnish Fat Tuesday buns. But then I realized that Easter is not until the end of April this year, and it is two more weeks until Fat Tuesday. My wonderful artist friend who is always looking on the bright side, Tammy from Painted by Tammy pointed out that I could practice making them today, an excellent idea. But when I was looking in my favorite baking book for the recipe, I saw this one, and decided to delay the Fat Tuesday buns by at least a week.
Fortunately, my baking book is totally in Finnish, and the name of the recipe literally means "jelly horns." If I had seen the word croissant on the page, I might have been intimidated and not tried these wonderful pastries! "Jelly horns" sound so much easier to make, don't they?
I've had a suggestion (mainly from my Mom!) that it would be nice if I change my "cook along" format and put the recipe at the top of the page. One reason I haven't done that up until now is because I feel strongly that you should read the entire recipe before starting to cook, and sometimes I even find myself cooking from the ingredients list. But today I will compromise. I made twice the amount from Parhaat Leivonnaiset, here are the amounts I used:
2 packets yeast (2 1/2 teaspoons) or 50 g
13 Tablespoons of butter or 200 g
1 cup milk or 2 dl
3 Tablespoons sugar
a couple dashes of salt
about 4 cups of flour or 10 dl
strawberry jam for filling
egg to brush with
pearl sugar or almond slices to garnish
First, I warmed up the milk in the microwave. About a minute in my microwave made it tepid, but not hot. If it is too hot, it will kill the yeast. Next, melt the butter and mix the milk and butter together.

Add the yeast to this, and the mixture will start to bubble. Add the sugar and salt at this point, and dissolve the yeast. The sugar is food for the yeast, and the salt limits the yeast's growth.

I used the bread hook on my stand mixer to add in about 3 1/2 cups of the flour, 1/2 cup at a time. After the dough pulled away from the sides, I kept mixing for a few more minutes.

This is what the dough looked like when I turned it out into the bowl. Very shiny from all the butter! It was very warm and soft, just as it should be.

Sprinkle some flour on top, and cover with a clean dishcloth. Let it rise in a warm place for about 40 minutes. I used my warming drawer on proof setting. Before we had pets, I would let dough rise on a heat register. Heating the oven to the lowest setting and then turning it off also makes a great place to let dough rise. Make sure to let the dough rise in a bowl that is not metal. An insulating bowl (such as glass, plastic, or even wood) helps the rising process.

Here is what the dough looked like after 40 minutes, so soft!

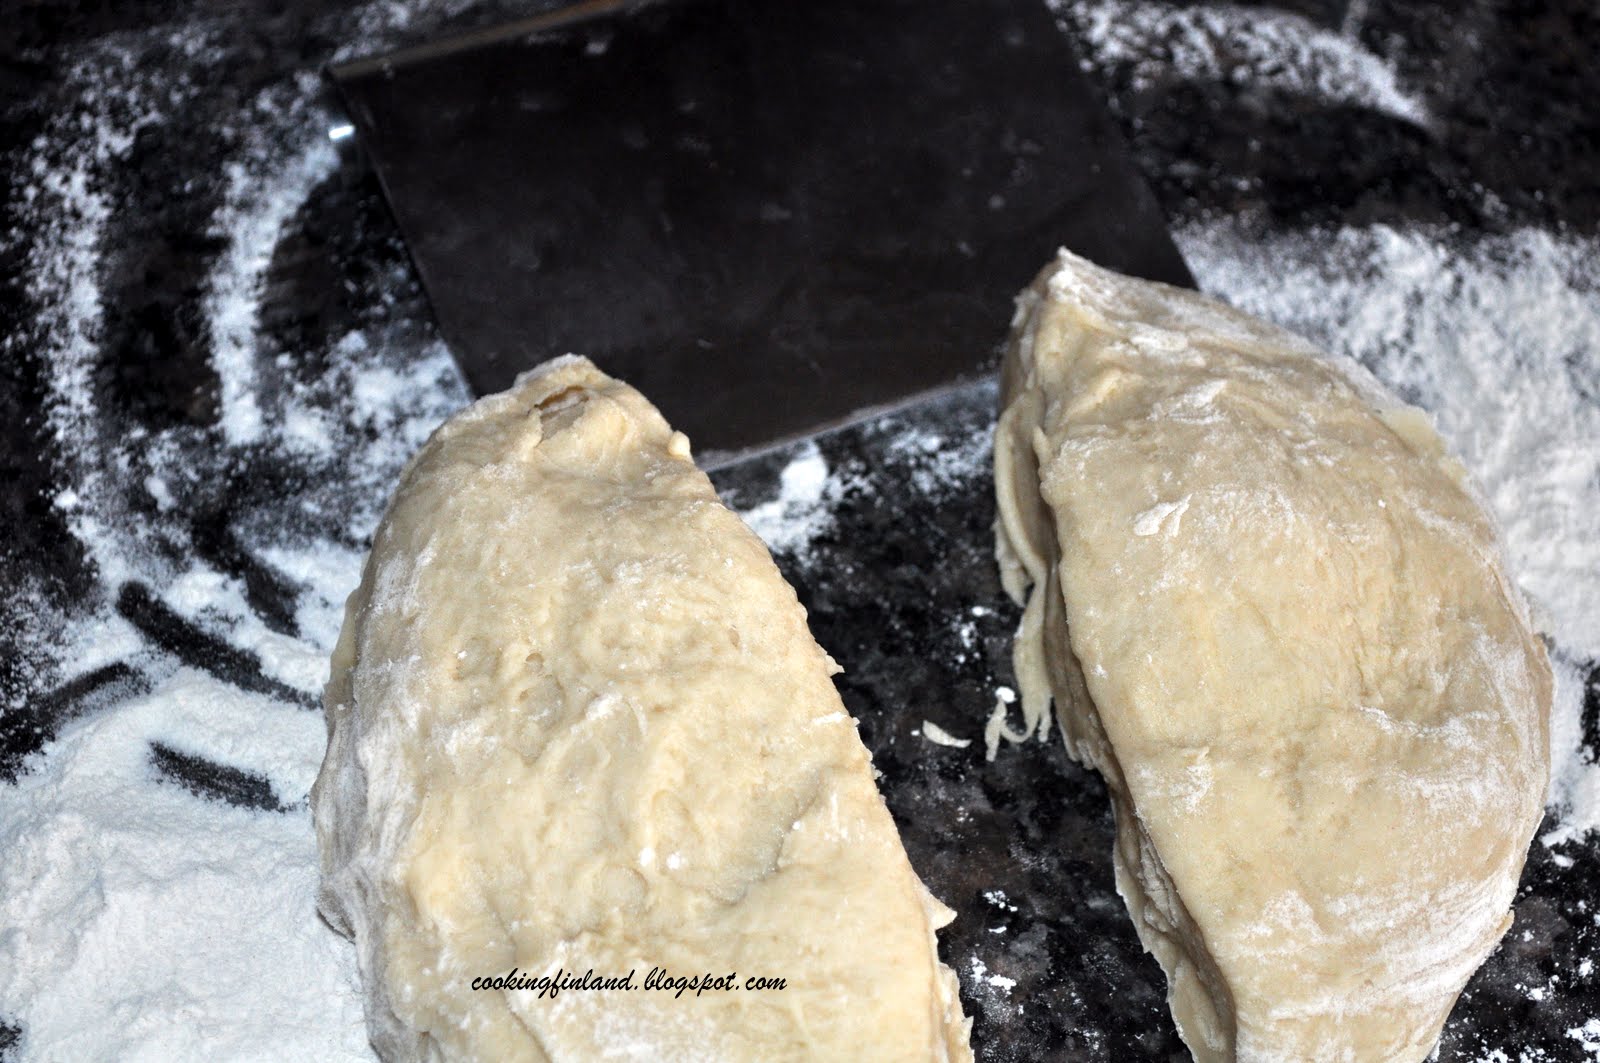
I put the rest of the flour out on the counter and punched down the dough.

Then I cut the dough into 4 equal pieces. Sorry that this photo shows it only cut in half...I was cooking along with the original recipe, and forgot for a minute that I was actually making a double recipe!
I rolled each of the four pieces into about a 9 inch (24 cm) circle:

Then I cut each circle into 8 pieces and put on a dab of jam. I used strawberry, you could experiment and use different types, for example orange marmelade or any other thick jam.

To roll them, start with the largest side:

and finish by tucking the "tail" underneath.

Put the pastries on a cookie sheet that is either greased or lined with parchment paper. Cover them with a clean dishtowel and let them rise for another 40 minutes.

Preheat the oven to 450 degrees Fahrenheit (250 C). Brush the pastries with a beaten egg. If you don't have a clean pastry brush, or just to save cleaning, you can use a folded paper towel to rub the beaten egg on the pastries.

These are sprinkled with pearl sugar, you could also use sliced almonds on top. Pearl sugar doesn't melt while baking, and you can get it at Ikea or from Amazon:
Bake for 5-7 minutes. The recipe says that they are best eaten warm from the oven.

The also says to let them cool while covered by a towel. We wouldn't know about the cooling part...I put them in the oven as soon as the kids started getting home, and was barely able to take photos before they were devoured! We'll be making "jelly horns" again soon!

These are beautiful!
ReplyDeleteYummy looking! If I lived close enough I'd invite myself over for a sample! :)
ReplyDeleteThanks for the shout out!
They're delicious. I'm sure they're gone.
ReplyDeleteThanks for the comments, I wish you could all taste them! My youngest (a very skinny and tall first grader) has learned well, he took a plate of about 10(!) pastries and a few strawberries and ate until he couldn't eat any more. He has learned that when your siblings are much older, you have to make sure and get at least your share. Funny how the kids didn't eat much of the chicken breast, vegetables and brown rice that I made later for dinner. I'm glad my husband was working from home when these came out of the oven, or he wouldn't have gotten any!
ReplyDeleteI made 16 today with thimbleberry jam (from our backyard in MI)....delicious. Thanks for sharing your recipe.
ReplyDeleteWonderful! I have never tried thimbleberry jam, how does its flavor differ from raspberry?
ReplyDeleteThimbleberries are more tart, more seeds (but small and soft)To make jam just add sugar, do not need to use Sure-jel.
ReplyDeleteElizabeth, I go to this blog to see Findland...beautiful
ReplyDeletehttp://sartenada.wordpress.com/
Nopham, thanks for the link, I haven't had much internet access this week, but managed to look at some of the posts, really amazing array of photos.
ReplyDeleteI just found a blog post today from someone who went to Finland on vacation last year, it is really well done. http://www.cookyourdream.com/2010/03/karelian-pies-winter-holiday-and.html
Her karjalanpiirakka look so nice. I need to practice some more!
Thank you for the link....can't stop reading that Blog. Have a good week.
ReplyDelete